Class Session Notes
Index > 17 October 2015
- Intro to Mario Builder
Introduction
In this class, we began exploring Mario Builder, a portable, free game development engine, which, if you don't have it, you can download from GameJolt. You can then place it in a folder (perhaps called MarioBuilder) inside the PortableApps folder on your flash drive, which will enable the PortableApps menu to find and display it in the list.
One of Mario Builder's many charms is that it requires no programming experience whatsoever, involving no coding. Everything you do in Mario Builder is on a point-click basis, making a game project such as this far easier and allowing people with no computer science background to create their very own distributable games.
Section 1.1: Getting Started
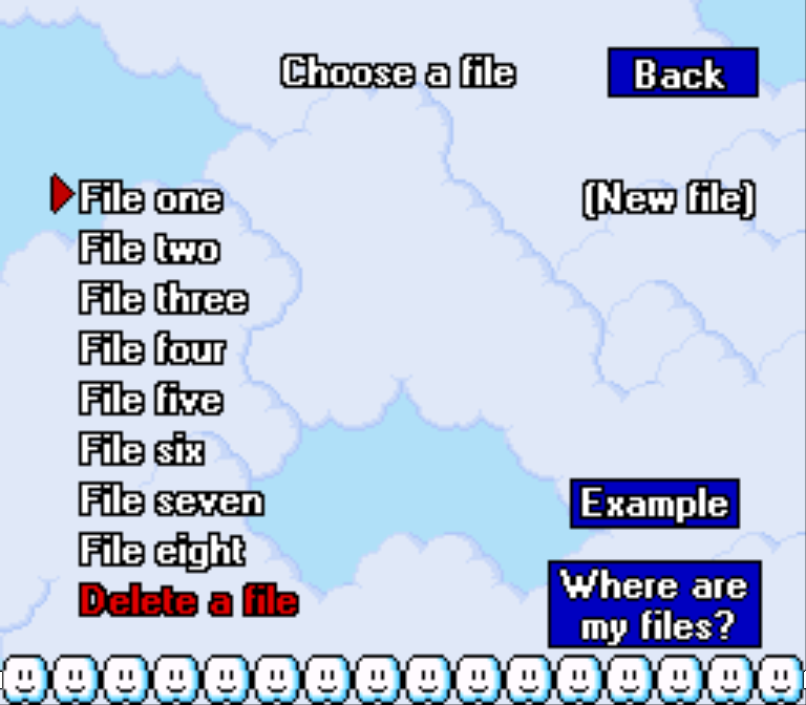
We began this lecture by selecting the Build option in the home menu and selecting the Build option and selecting a file in which to create your game, as shown in Figures 1.1 and 1.2.
Figure 1.1
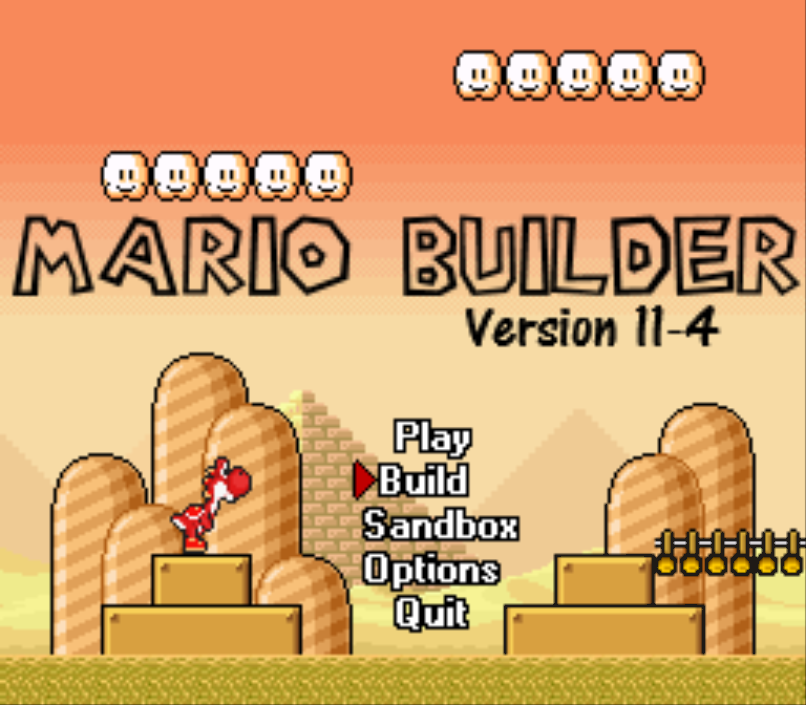
Figure 1.2
Also, you may want to build this game in Advanced mode to allow more freedom in how you build your game, such as ability to create larger maps and access to more characters, as well as other important features.
Section 1.2: Maps
Once you have set up your new game file, you will be greeted with a simple blank map with a standard 1×1 world map with the standard grassy texture.
Figure 1.3
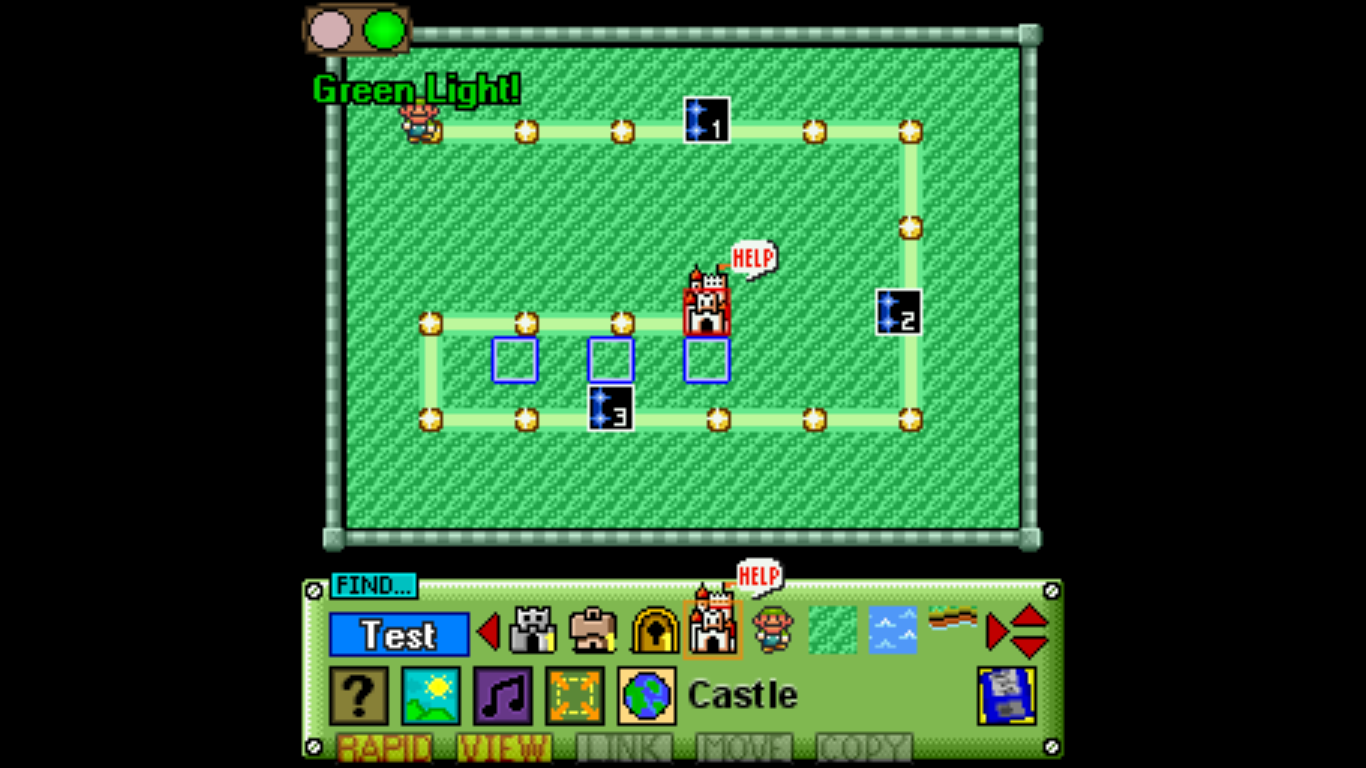
On this map, you can add travel points anywhere you like, play as either Mario or Luigi, and add as many levels to it as you like (up to 12, if you want to go crazy). Plus, you can add a boss castle, one or more ghost houses, bonus levels, in which you can allow for your handyman friend to attain power-ups of your choosing. Figure 1.4 demonstrates a complete map; a map is not considered complete without at least two points, your character, and a boss fight castle, at minimum. Surely, though, games with real substance are far more interesting and fun!
Figure 1.4
Section 1.3: Levels
Once you have your map built to your satisfaction, you can use the Level Manager to link your levels to the appropriate map points and begin creating your platform game. Click the LINK button along the bottom of the window, select Name, and choose a name for your level (such as Level 1, as demonstrated in Figure 1.4 below).
Figure 1.4
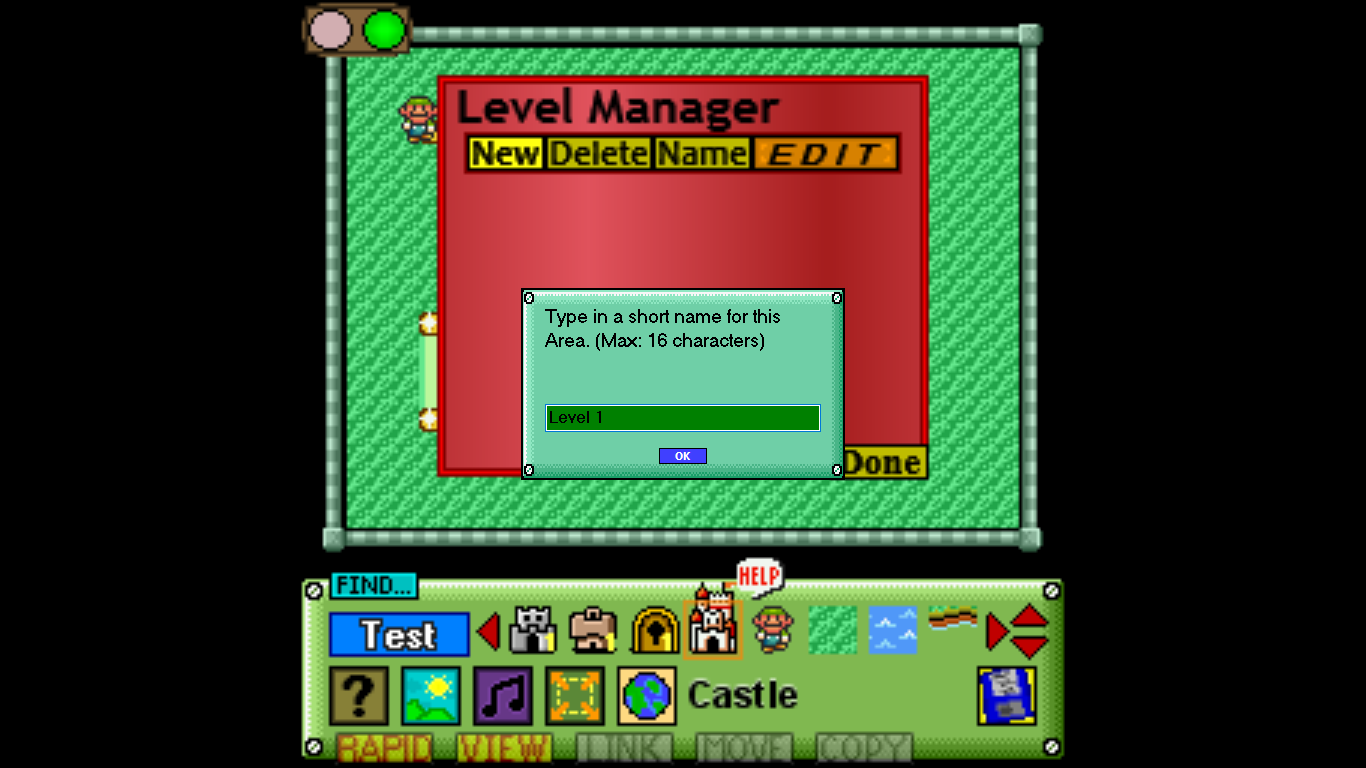
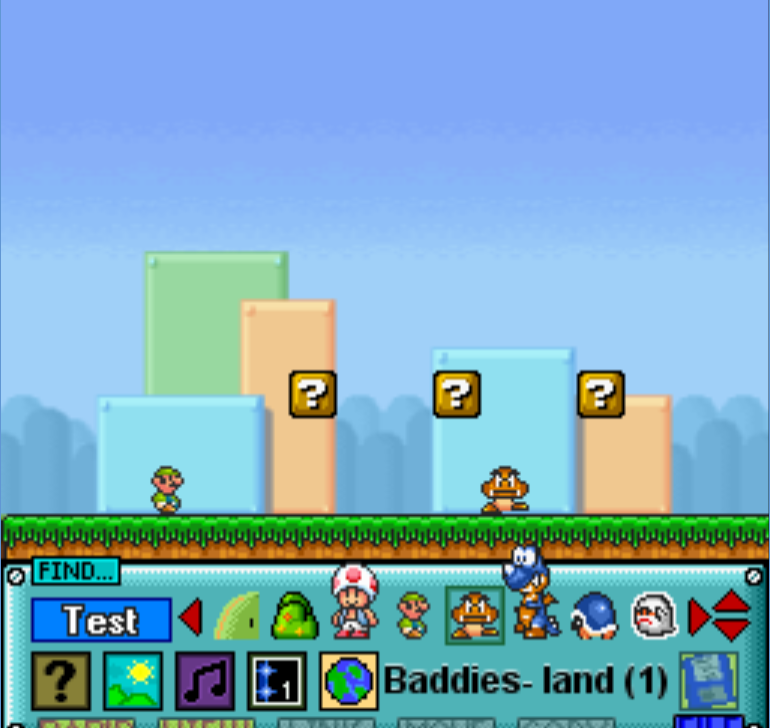
Figure 1.5 below shows what the level editor looks like, providing several examples of what objects you can add to your level. Such objects include enemies (there are hundreds of different ones you can use), coins, power-ups, blocks, and even a selection of various music, ground material, and ambience, the last three of which can be imported from your computer's file system (be warned, however, that any music or images you do import may be subject to copyright law).
Figure 1.5
Conclusion
When you are finished developing your game, you can finally seal it, making it virtually uneditable until the next time you open it using the Build option as aforementioned, and play the game via the Mario Builder Player, which, if you are using the official Explorers Post flash drive, should already be installed in the PortableApps folder under MarioBuilder. With that, you can carry your game everywhere you go. You can even run your game on Linux, provided that Wine is installed, broadening the spectrum of devices compatible with your game.
Contact Us
Questions? Concerns? Just want to say hello? Please email Scott at post725@gmail.com.